犯太歲中的好讀版!
http://www.xfastest.com/thread-69722-1-1.html
==============================================
機殼的市場中可以說是百家爭鳴,如何殺出一條血路除了價格至上外
在來就是優良的創新方便順手的內部架構,這樣才能捕獲我們消費者的心
而國際大廠Antec在2012年初積極的在中高階機殼市場一展身手!
推出了幾款經典款的改良版,今天就來介紹Performance One系列
Performance One系列主要以高效率,靜音為訴求
現有的產品線型號有:
P183
Mini P180 White
Mini P180
P180B
P193
P280
而這一系列的最大共通點就是前面面板採用翻蓋的設計!
台客兄就來詳細介紹Performance One系列最新加入的心血P280
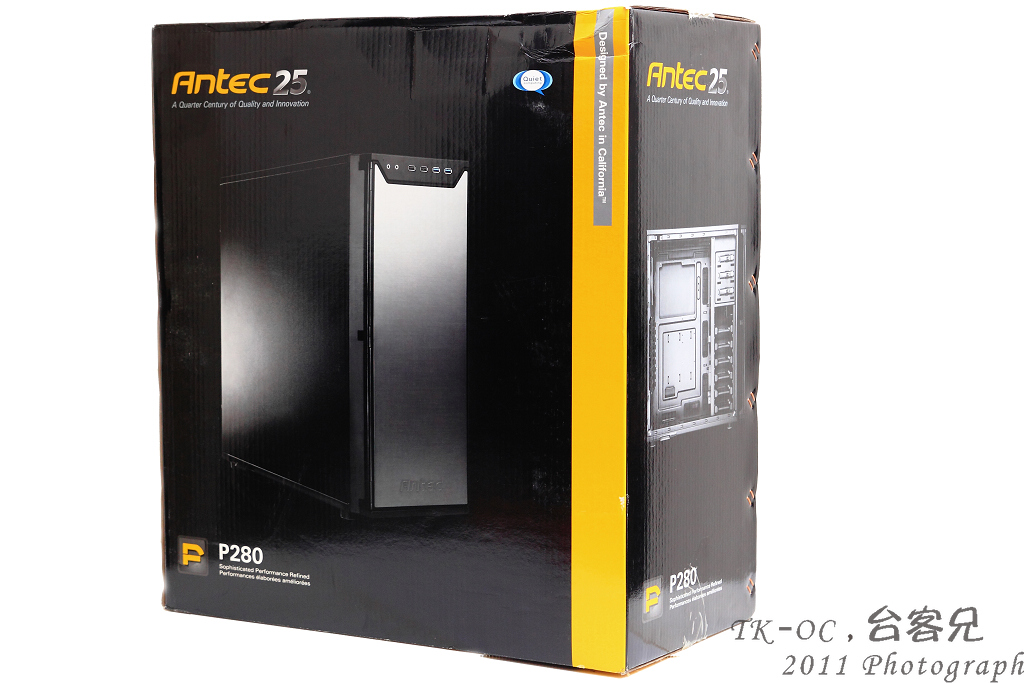
碩大的外箱
http://picx.xfastest.com/japan0827/P280/1.JPG
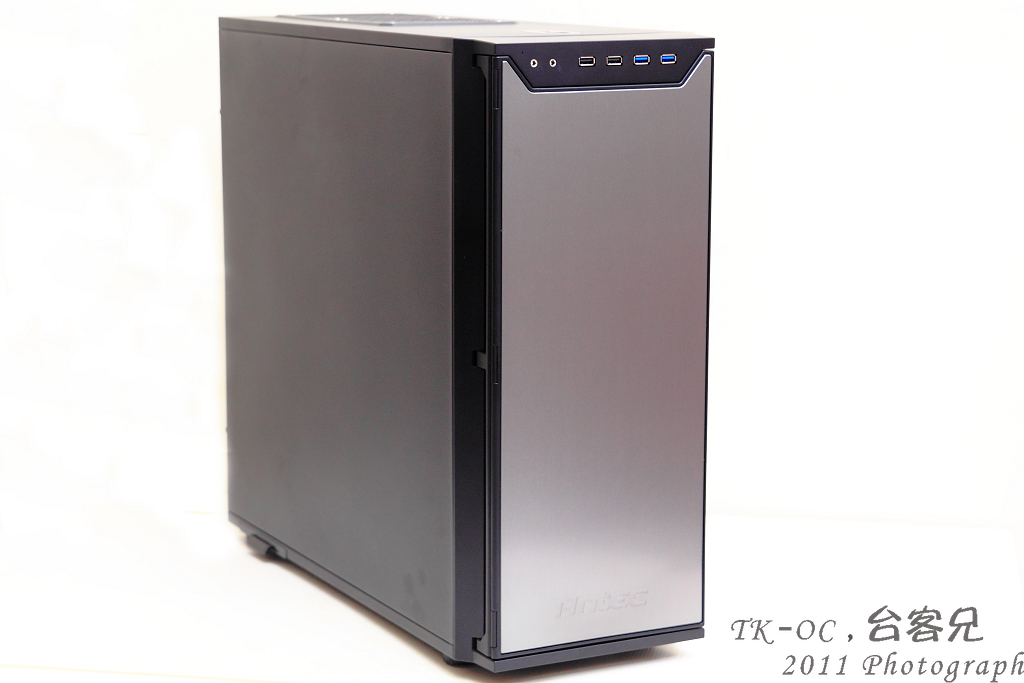
P280整體
http://picx.xfastest.com/japan0827/P280/2.JPG
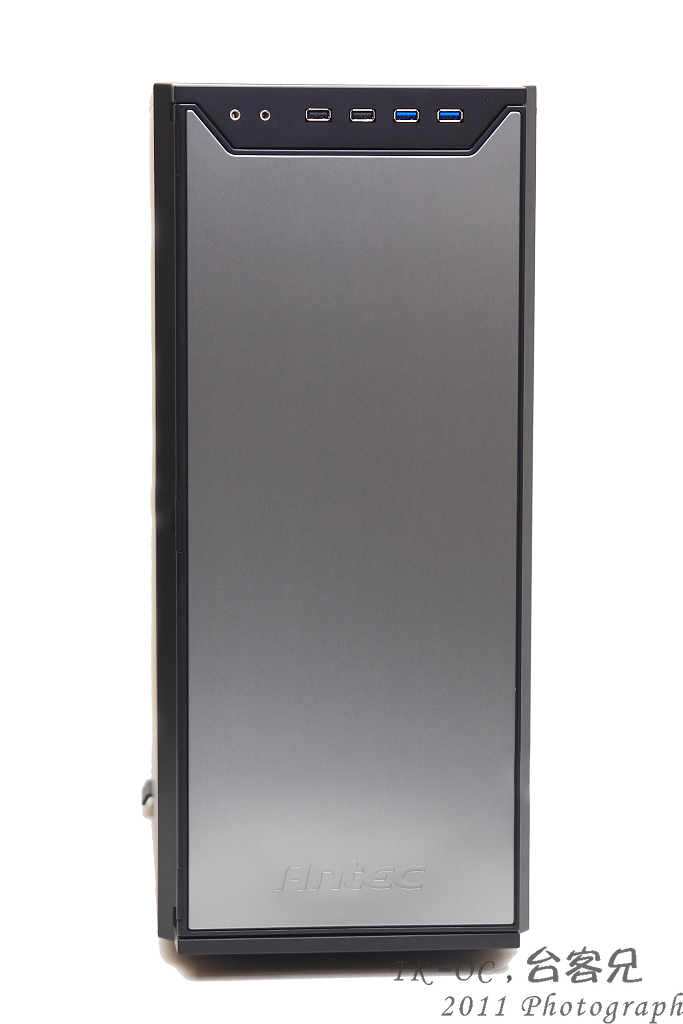
簡潔的正面
http://picx.xfastest.com/japan0827/P280/3.JPG
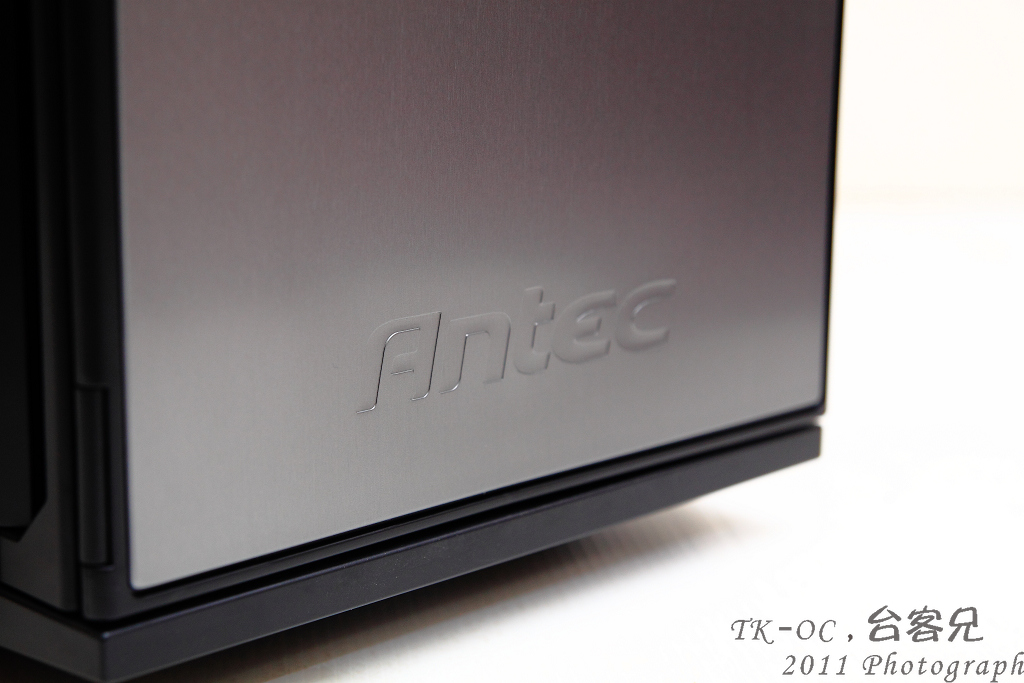
面板底部隱約看的見Antec LOGO增加辨識率
http://picx.xfastest.com/japan0827/P280/4.JPG
正面承襲了P系列前面面板翻蓋的設計!
http://picx.xfastest.com/japan0827/P280/5.JPG
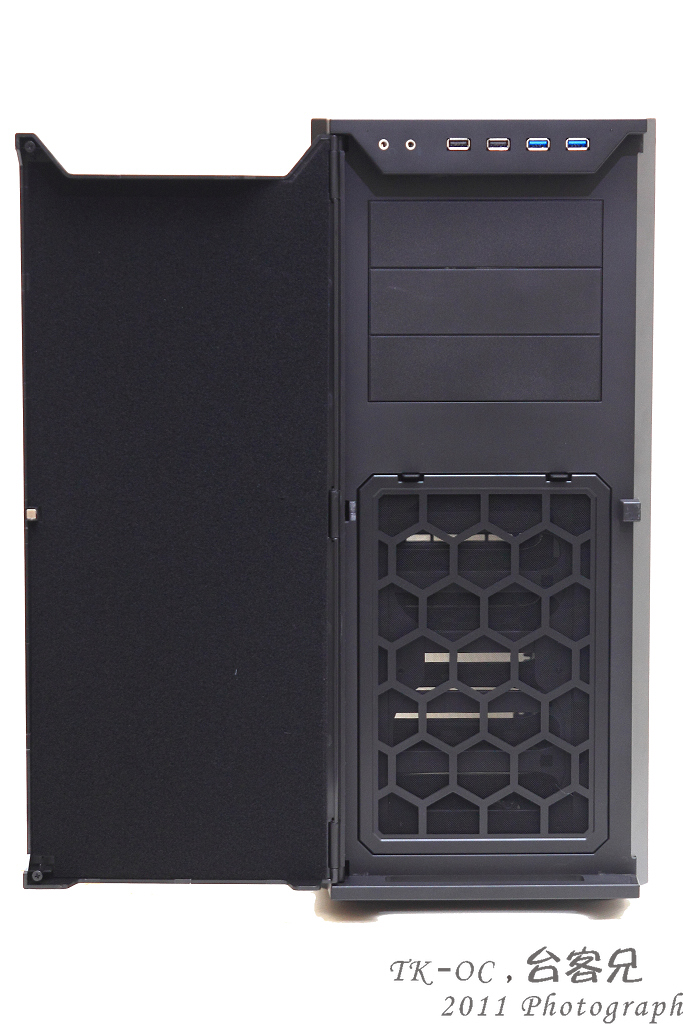
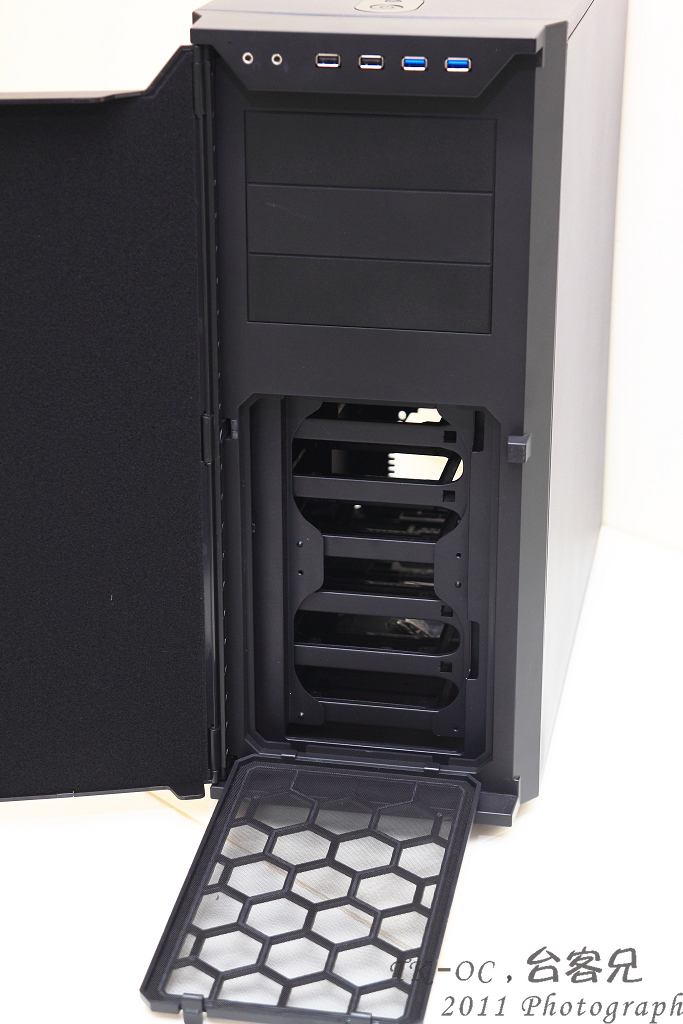
前面板內側的濾網可以拆卸下來,方便清洗灰塵
http://picx.xfastest.com/japan0827/P280/6.JPG
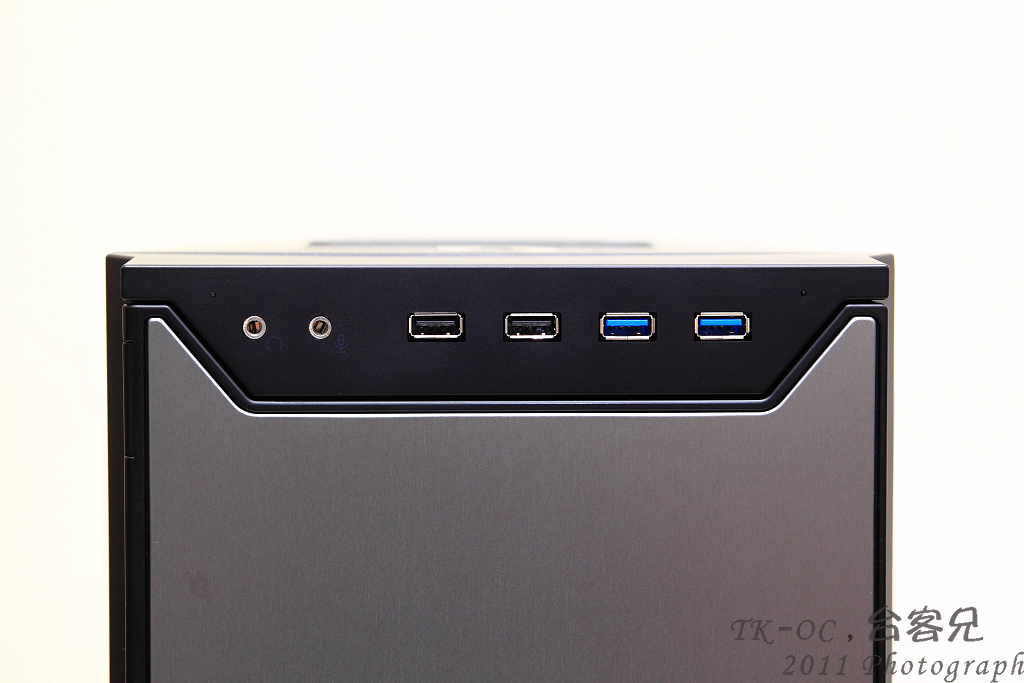
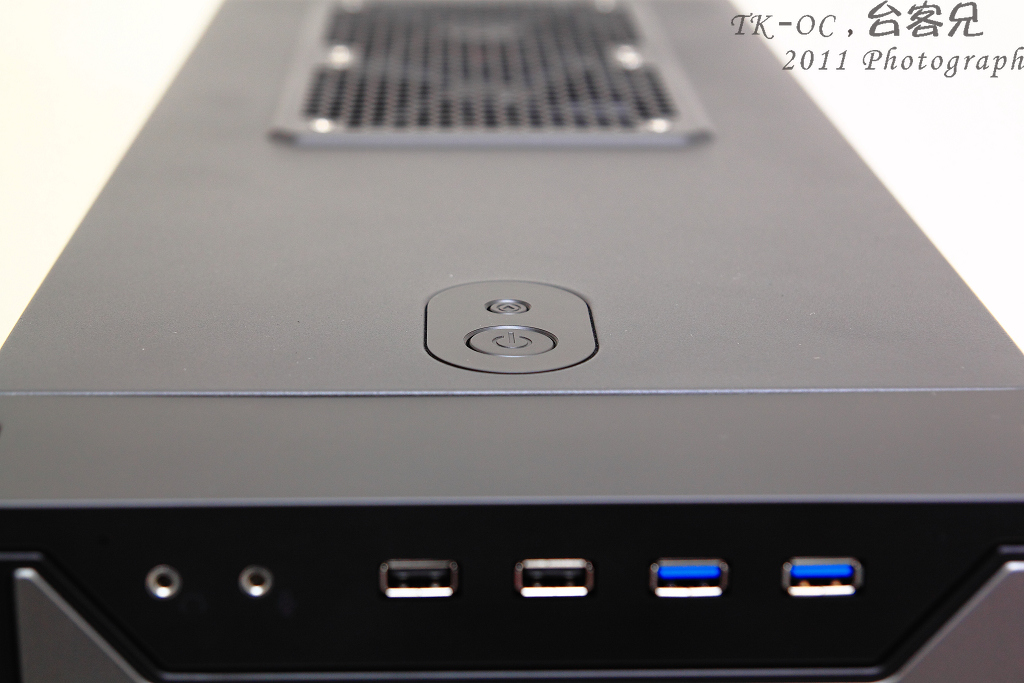
前置I/O包括Audio,2阜USB2.0 2阜USB3.0設計在機殼的上方!
方便電腦放桌下的玩家更輕易來插拔裝置
http://picx.xfastest.com/japan0827/P280/7.JPG
而POWER跟Reset開關則是在機殼頂端
http://picx.xfastest.com/japan0827/P280/8.JPG
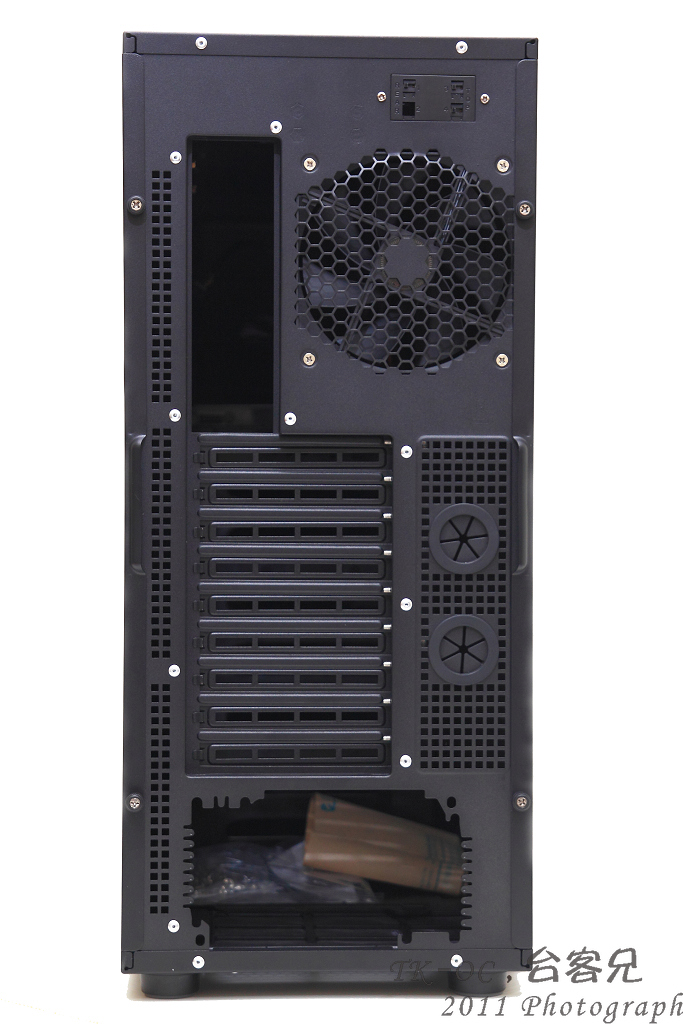
P280後方,Power採用下置式,並預留2個水冷管出線孔,
PCI擴充槽提供了高達9組,擋版是採用可以重覆使用的方案
http://picx.xfastest.com/japan0827/P280/9.JPG
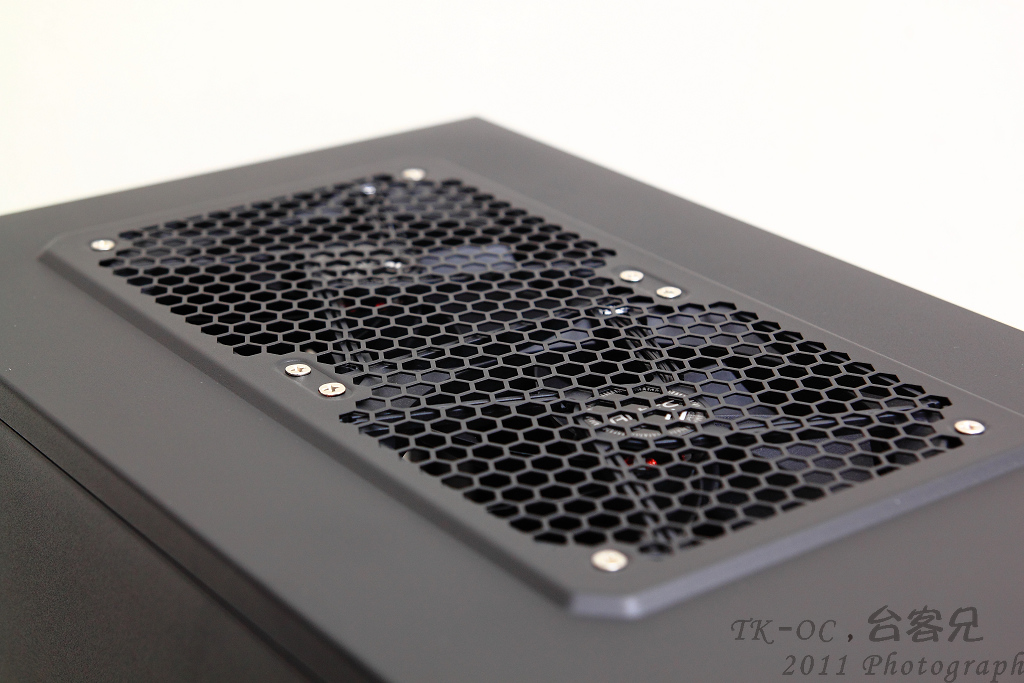
P280頂部以安裝2顆120mm的風扇
http://picx.xfastest.com/japan0827/P280/10.JPG
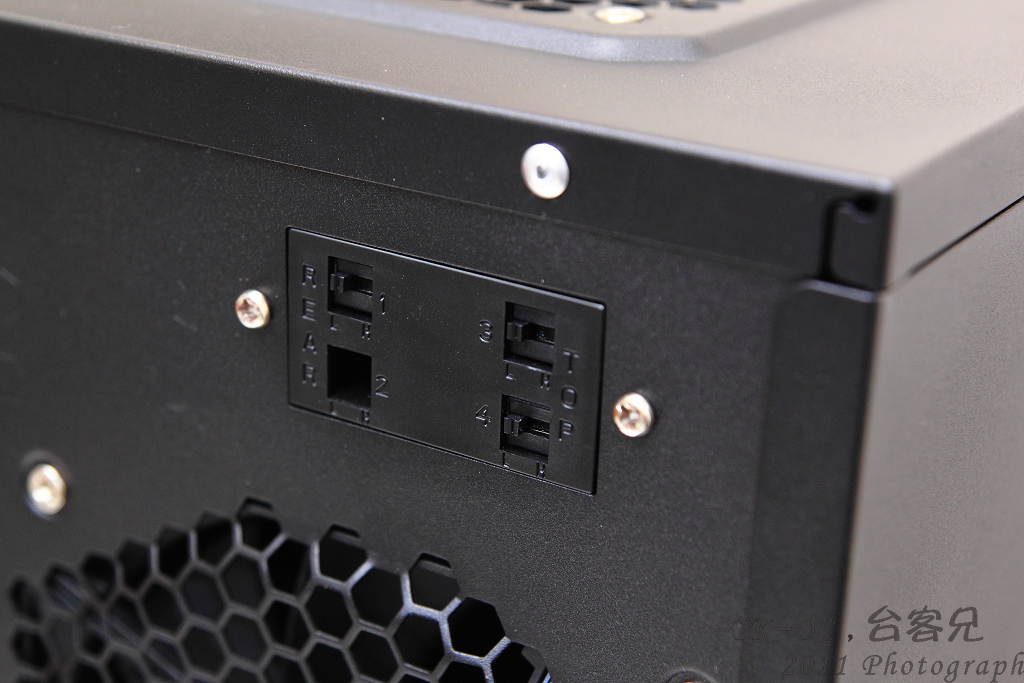
頂部2顆120mm風扇跟後方1顆120mm風扇均可透過這開關控制風扇轉速
http://picx.xfastest.com/japan0827/P280/11.JPG
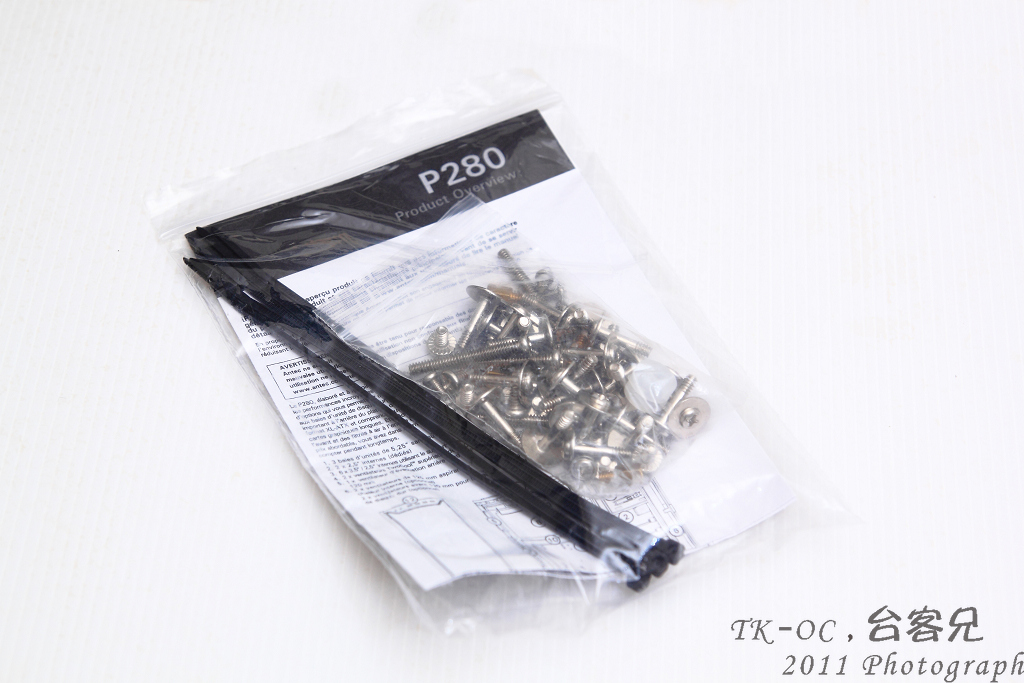
簡單的配件包
http://picx.xfastest.com/japan0827/P280/12.JPG
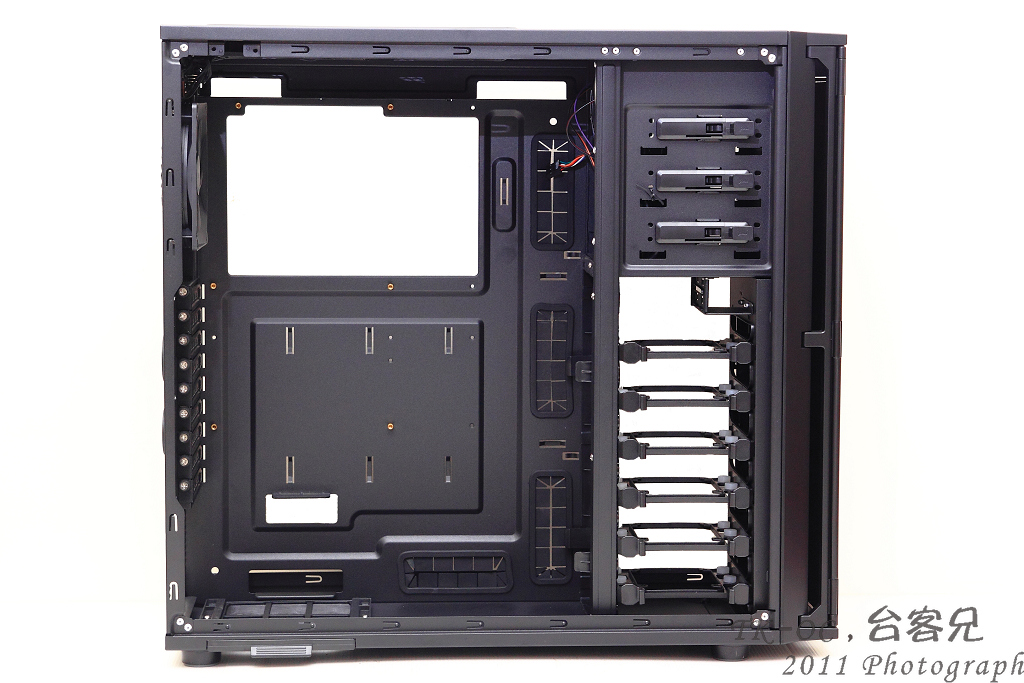
內部碩大空間一覽
http://picx.xfastest.com/japan0827/P280/13.JPG
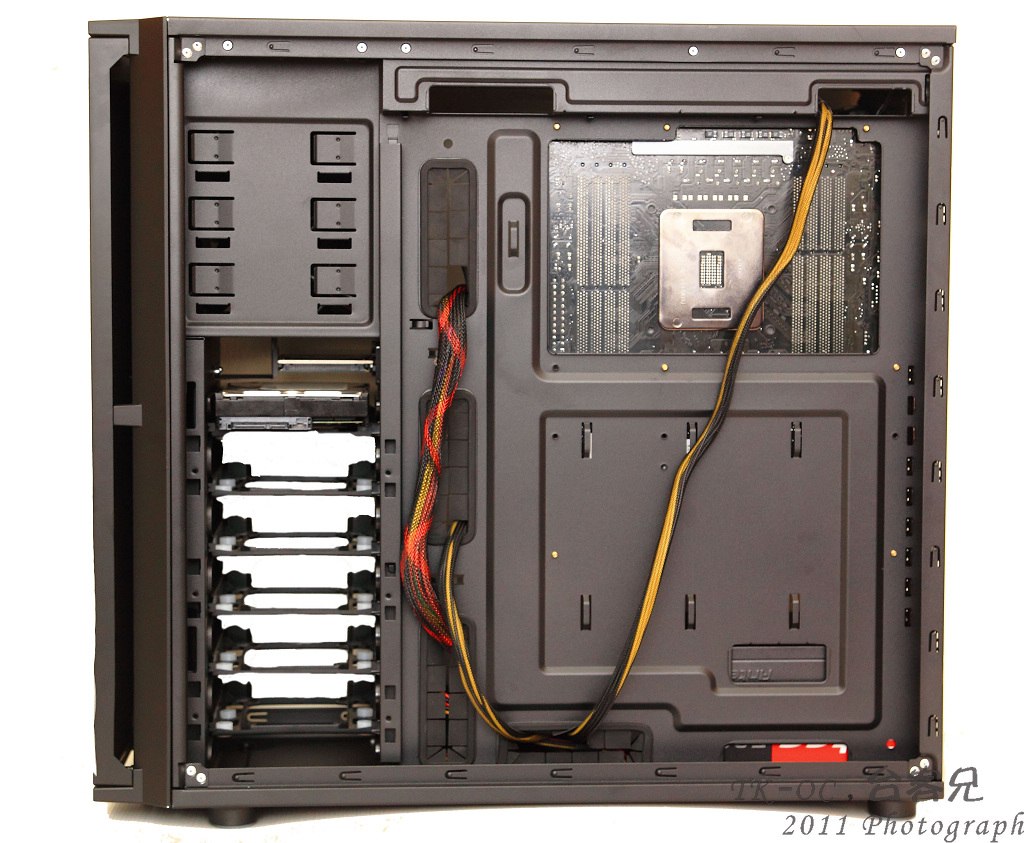
背面一覽
http://picx.xfastest.com/japan0827/P280/14.JPG
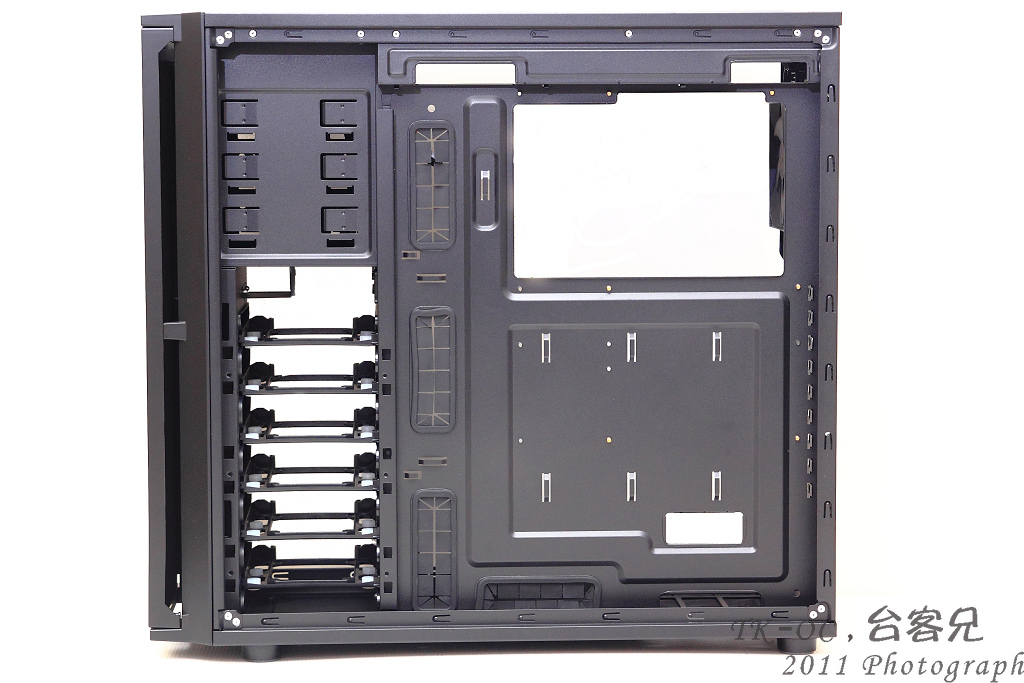
背面走線的空間相當充足
http://picx.xfastest.com/japan0827/P280/15.JPG
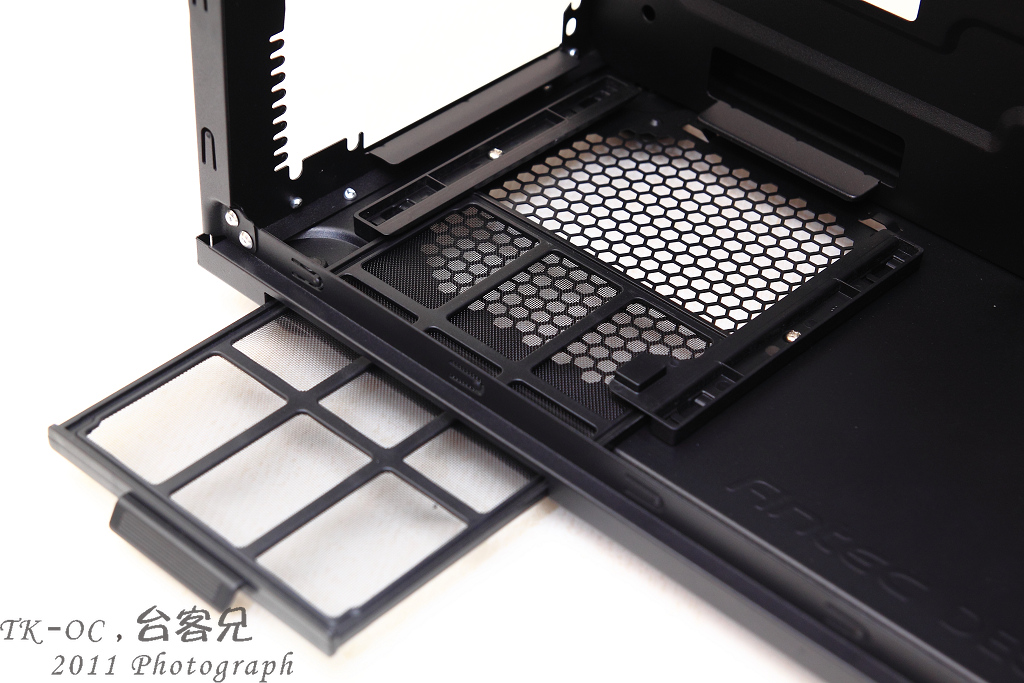
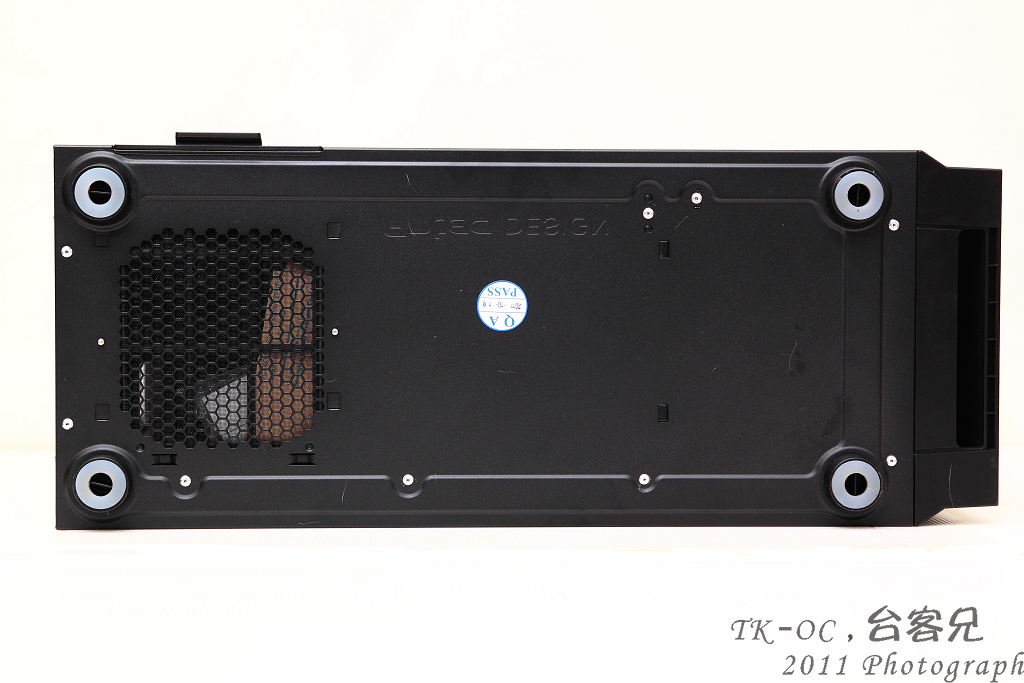
底部放置POWER的下方有可抽換式濾網
http://picx.xfastest.com/japan0827/P280/16.JPG
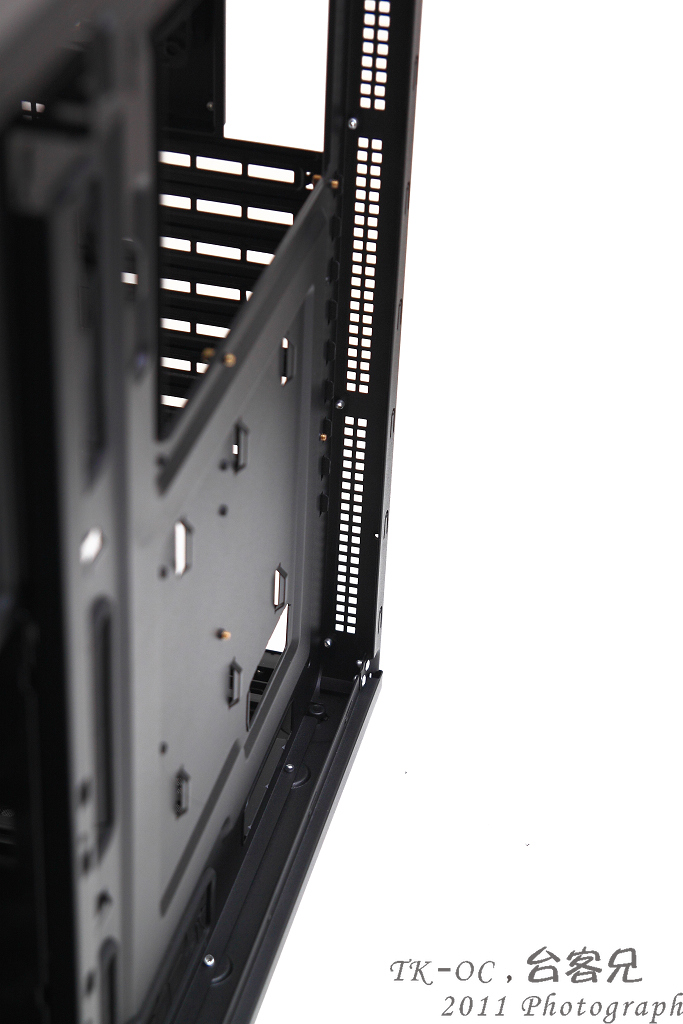
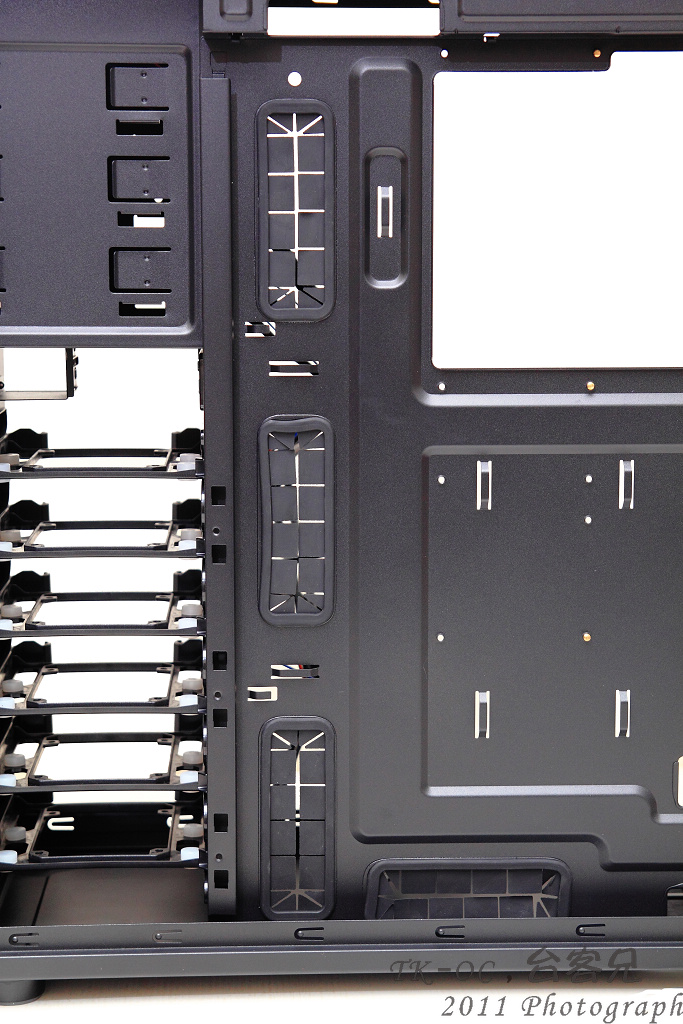
P280內部開了許多孔方便POWER線材通過整線
http://picx.xfastest.com/japan0827/P280/17.JPG
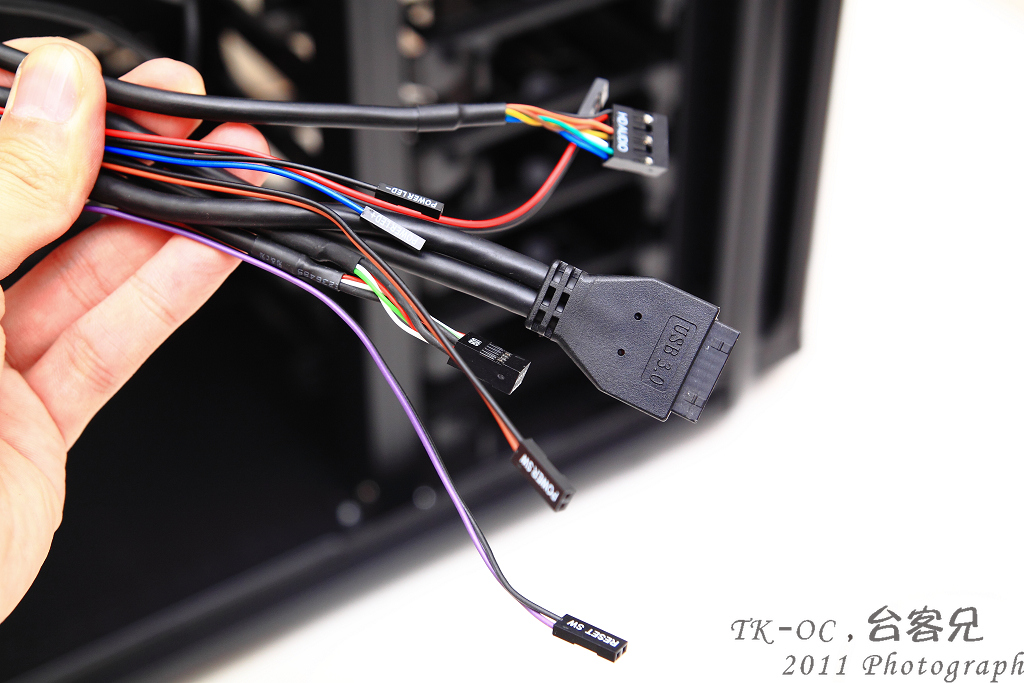
前置I/O線材..USB3.0採用的是內置19Pin接頭而非延伸
http://picx.xfastest.com/japan0827/P280/18.JPG
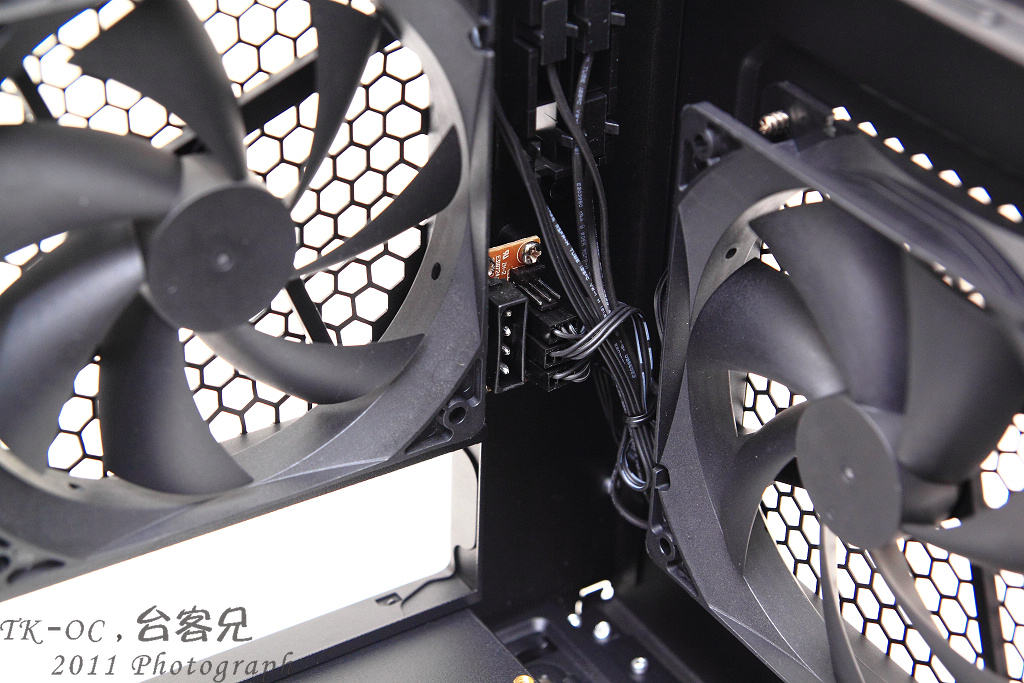
上方風扇附近有塊電擴版,
如使用的MB上面搭載的3pin接頭不夠用時這設計就很方便!
http://picx.xfastest.com/japan0827/P280/19.JPG
5.25吋安裝固定方式始採用彈壓試的設計!
http://picx.xfastest.com/japan0827/P280/20.gif
3.5吋全都採用滑槽的安裝方式
http://picx.xfastest.com/japan0827/P280/21.JPG
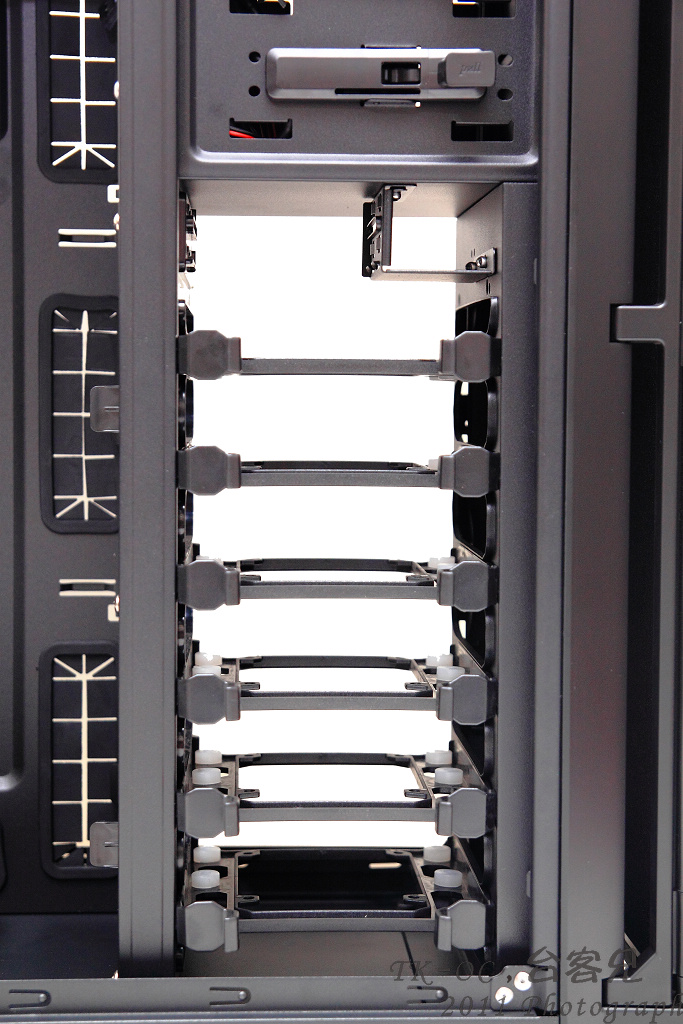
3.5吋硬碟架
http://picx.xfastest.com/japan0827/P280/22.JPG
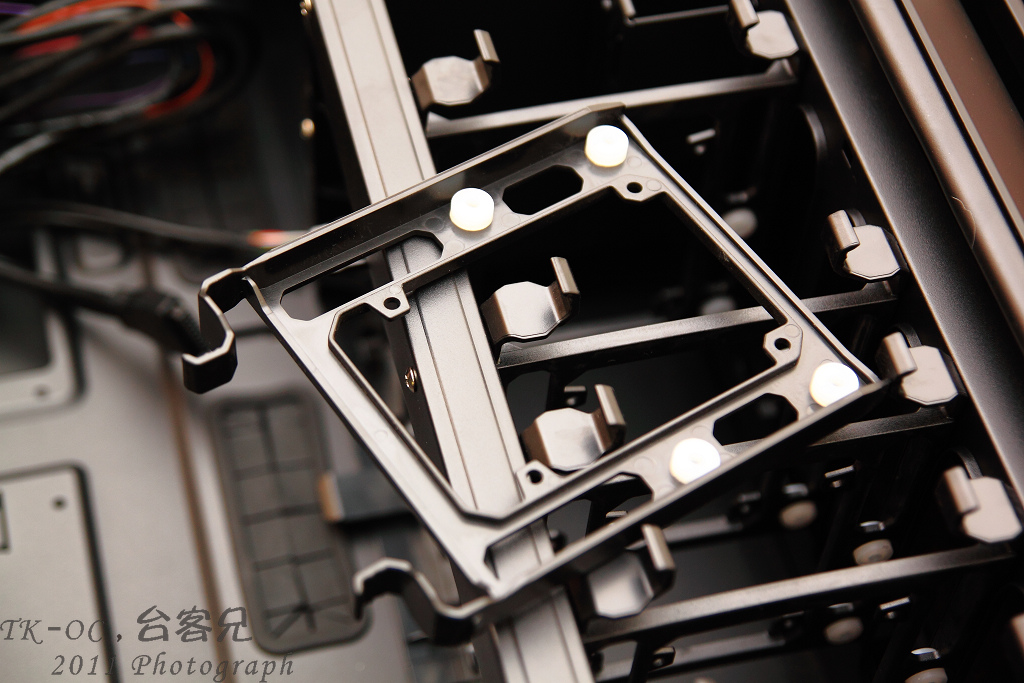
3.5吋硬碟安裝方式
http://picx.xfastest.com/japan0827/P280/23.JPG

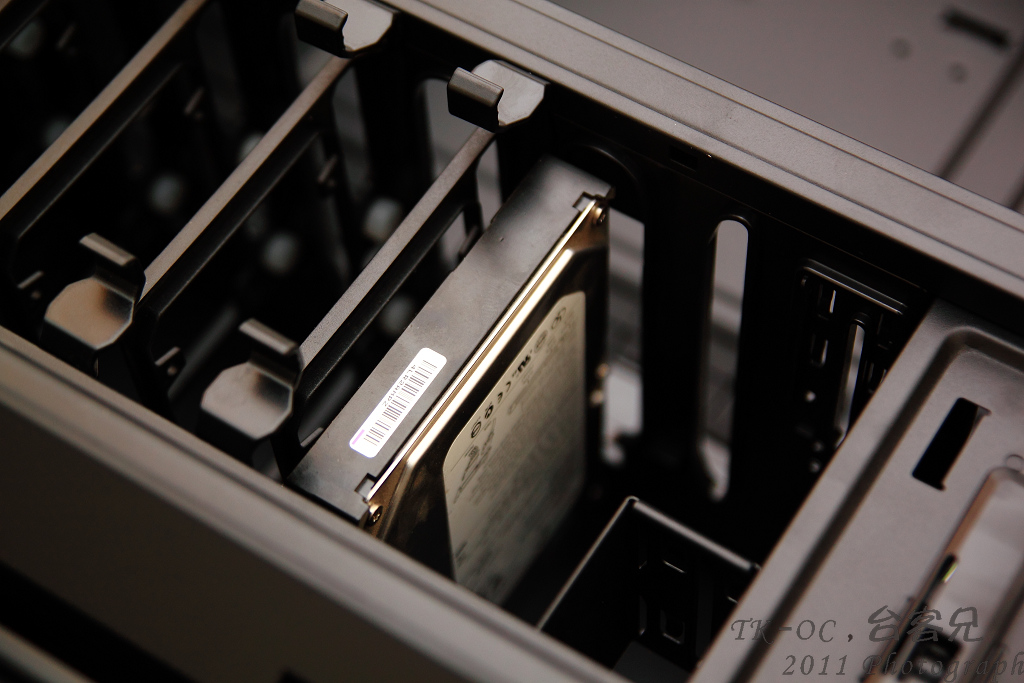
硬碟固定在滑軌架上後在推入置滑槽,之後聽到喀一聲就固定完成!
http://picx.xfastest.com/japan0827/P280/24.JPG
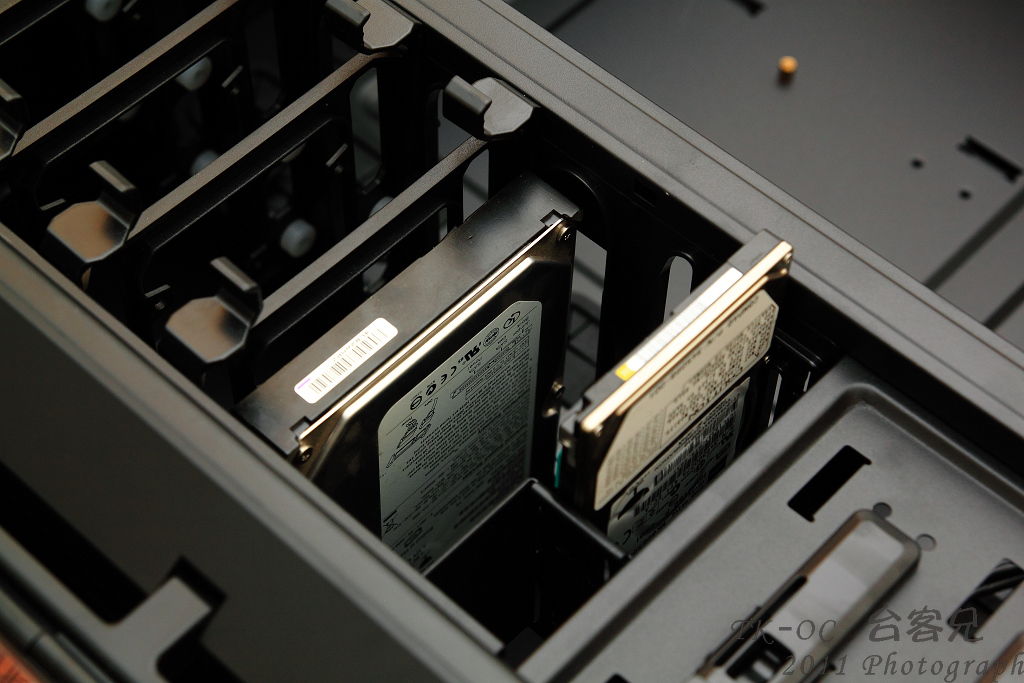
而2.5吋HDD,SSD安裝方式就更簡單,直接督進去專為2.5吋設計的滑槽即可
也不用使用任何一顆螺絲,當然如果你覺得這樣不夠妥當,
旁邊還是有預留鎖孔!
http://picx.xfastest.com/japan0827/P280/25.JPG
P280底部
http://picx.xfastest.com/japan0827/P280/26.JPG
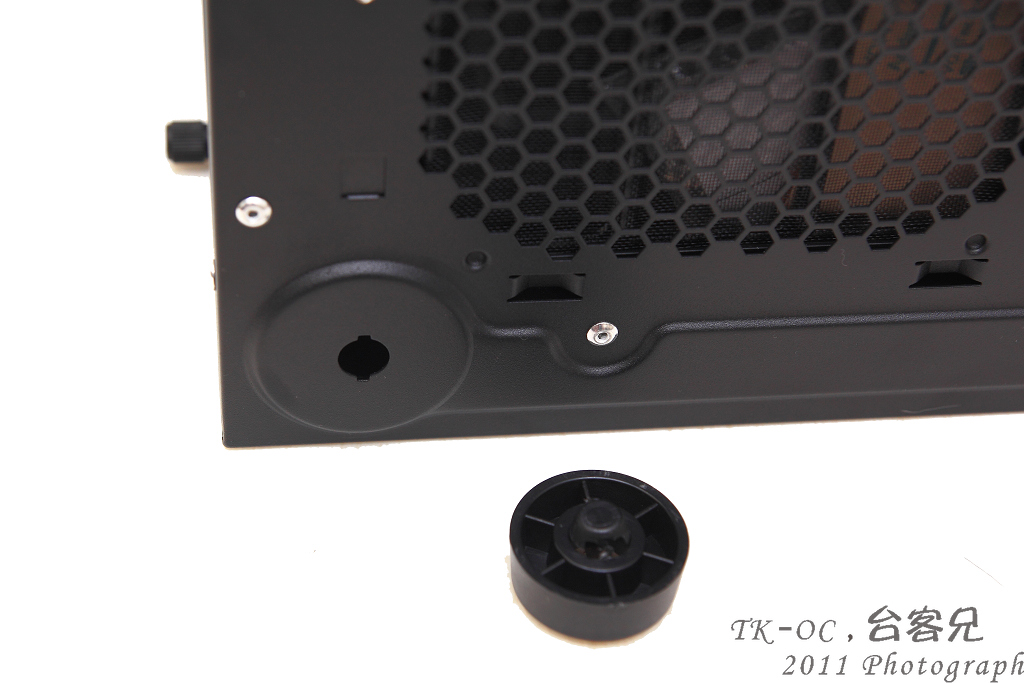
腳座採用扣槽式
http://picx.xfastest.com/japan0827/P280/27.JPG
最後整體安裝一覽,整體空間相當的充足,就算安裝到XL-ATX也是沒問題的
http://picx.xfastest.com/japan0827/P280/28.JPG

P280背部的走線空間也相當充足!
http://picx.xfastest.com/japan0827/P280/29.JPG
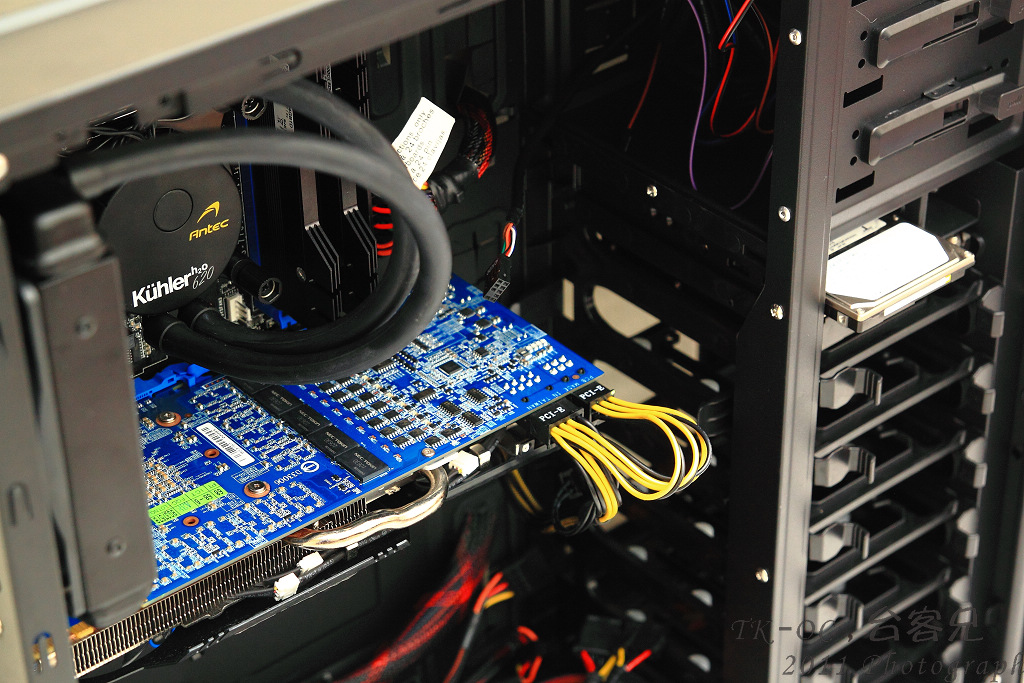
整體裝機起來台客兄是拿GTX580來試裝,
就算裝了這類長卡機殼空間還是很足夠的!
http://picx.xfastest.com/japan0827/P280/30.JPG
-------------------------------------------------------------------------
總結:
Performance One系列機殼這款P280算是台客兄個人認為內部
空間最合台灣市場的口味,面板樸素簡潔!鋼板用料承襲前幾款厚實的用料
而這款價格也是Performance One系列機殼個人覺得比較符合市場價位
P280約落在NTD:3900$上下,以用料性價比這款也是個不錯的選擇!
~END犯太歲的台客兄~
--
~人品大爆發的台客兄~
--
http://www.xfastest.com/thread-69722-1-1.html
==============================================
機殼的市場中可以說是百家爭鳴,如何殺出一條血路除了價格至上外
在來就是優良的創新方便順手的內部架構,這樣才能捕獲我們消費者的心
而國際大廠Antec在2012年初積極的在中高階機殼市場一展身手!
推出了幾款經典款的改良版,今天就來介紹Performance One系列
Performance One系列主要以高效率,靜音為訴求
現有的產品線型號有:
P183
Mini P180 White
Mini P180
P180B
P193
P280
而這一系列的最大共通點就是前面面板採用翻蓋的設計!
台客兄就來詳細介紹Performance One系列最新加入的心血P280
碩大的外箱
http://picx.xfastest.com/japan0827/P280/1.JPG
P280整體
http://picx.xfastest.com/japan0827/P280/2.JPG
簡潔的正面
http://picx.xfastest.com/japan0827/P280/3.JPG
面板底部隱約看的見Antec LOGO增加辨識率
http://picx.xfastest.com/japan0827/P280/4.JPG
正面承襲了P系列前面面板翻蓋的設計!
http://picx.xfastest.com/japan0827/P280/5.JPG
前面板內側的濾網可以拆卸下來,方便清洗灰塵
http://picx.xfastest.com/japan0827/P280/6.JPG
前置I/O包括Audio,2阜USB2.0 2阜USB3.0設計在機殼的上方!
方便電腦放桌下的玩家更輕易來插拔裝置
http://picx.xfastest.com/japan0827/P280/7.JPG
而POWER跟Reset開關則是在機殼頂端
http://picx.xfastest.com/japan0827/P280/8.JPG
P280後方,Power採用下置式,並預留2個水冷管出線孔,
PCI擴充槽提供了高達9組,擋版是採用可以重覆使用的方案
http://picx.xfastest.com/japan0827/P280/9.JPG
P280頂部以安裝2顆120mm的風扇
http://picx.xfastest.com/japan0827/P280/10.JPG
頂部2顆120mm風扇跟後方1顆120mm風扇均可透過這開關控制風扇轉速
http://picx.xfastest.com/japan0827/P280/11.JPG
簡單的配件包
http://picx.xfastest.com/japan0827/P280/12.JPG
內部碩大空間一覽
http://picx.xfastest.com/japan0827/P280/13.JPG
背面一覽
http://picx.xfastest.com/japan0827/P280/14.JPG
背面走線的空間相當充足
http://picx.xfastest.com/japan0827/P280/15.JPG
底部放置POWER的下方有可抽換式濾網
http://picx.xfastest.com/japan0827/P280/16.JPG
P280內部開了許多孔方便POWER線材通過整線
http://picx.xfastest.com/japan0827/P280/17.JPG
前置I/O線材..USB3.0採用的是內置19Pin接頭而非延伸
http://picx.xfastest.com/japan0827/P280/18.JPG
上方風扇附近有塊電擴版,
如使用的MB上面搭載的3pin接頭不夠用時這設計就很方便!
http://picx.xfastest.com/japan0827/P280/19.JPG
5.25吋安裝固定方式始採用彈壓試的設計!
http://picx.xfastest.com/japan0827/P280/20.gif
3.5吋全都採用滑槽的安裝方式
http://picx.xfastest.com/japan0827/P280/21.JPG
3.5吋硬碟架
http://picx.xfastest.com/japan0827/P280/22.JPG
3.5吋硬碟安裝方式
http://picx.xfastest.com/japan0827/P280/23.JPG
硬碟固定在滑軌架上後在推入置滑槽,之後聽到喀一聲就固定完成!
http://picx.xfastest.com/japan0827/P280/24.JPG
而2.5吋HDD,SSD安裝方式就更簡單,直接督進去專為2.5吋設計的滑槽即可
也不用使用任何一顆螺絲,當然如果你覺得這樣不夠妥當,
旁邊還是有預留鎖孔!
http://picx.xfastest.com/japan0827/P280/25.JPG
P280底部
http://picx.xfastest.com/japan0827/P280/26.JPG
腳座採用扣槽式
http://picx.xfastest.com/japan0827/P280/27.JPG
最後整體安裝一覽,整體空間相當的充足,就算安裝到XL-ATX也是沒問題的
http://picx.xfastest.com/japan0827/P280/28.JPG
P280背部的走線空間也相當充足!
http://picx.xfastest.com/japan0827/P280/29.JPG
整體裝機起來台客兄是拿GTX580來試裝,
就算裝了這類長卡機殼空間還是很足夠的!
http://picx.xfastest.com/japan0827/P280/30.JPG
-------------------------------------------------------------------------
總結:
Performance One系列機殼這款P280算是台客兄個人認為內部
空間最合台灣市場的口味,面板樸素簡潔!鋼板用料承襲前幾款厚實的用料
而這款價格也是Performance One系列機殼個人覺得比較符合市場價位
P280約落在NTD:3900$上下,以用料性價比這款也是個不錯的選擇!
~END犯太歲的台客兄~
--
~人品大爆發的台客兄~
--
All Comments